
Video software like VLC and FFMPEG can be used to stream video from any device into Home Theater VR. This tutorial will explain how configure a stream using VLC.
Note: This is for network video streaming, which will have a delay between the PC and phone. If you want real-time streaming, you can use HTVR PC Streamer instead.
If you don’t already have VLC media player installed, you can download it here: http://www.videolan.org/vlc/index.html
You can also use Stream Helper to quickly and easily start VLC streams from Windows PC’s. See the Stream Helper Tutorial for more info.
Create a stream with VLC
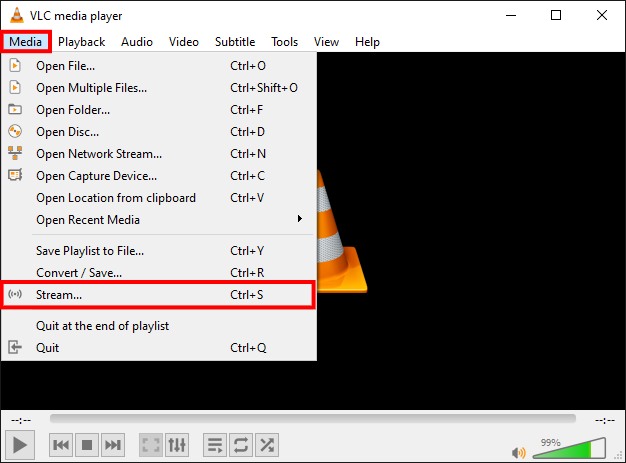
To stream a video file, first start VLC, open the “Media” menu at the top, and then select “Stream”.
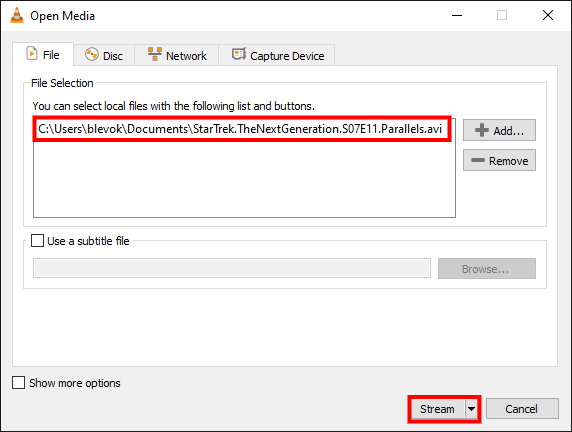
Make sure you’re on the “File” tab, and then click “Add” to pick a video file to stream.

Once you’ve selected one or more files to stream, click the “Stream” button at the bottom.
On this page, just click the “Next” button.

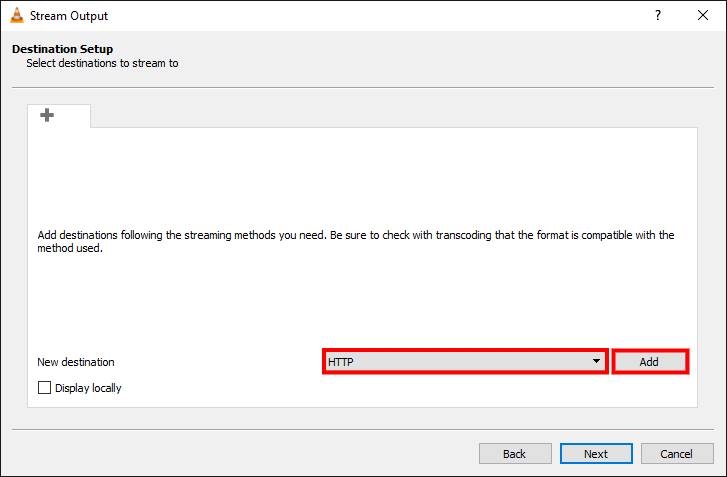
Here you can select the protocol to use. Select “HTTP” from the drop-down list, and then click “Add”.
Select a port, and click “Next”. You can use the default port of 8080 as long as you’re not already using it for something else.

Make sure the checkbox “Activate Transcoding” is checked. Select “Video - H.264 + MP3 (MP4)” from the drop-down menu, and click the wrench button to the right to “Edit Selected Profile”.

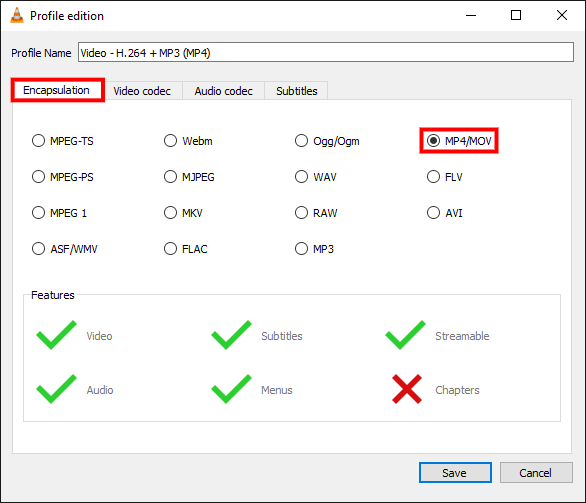
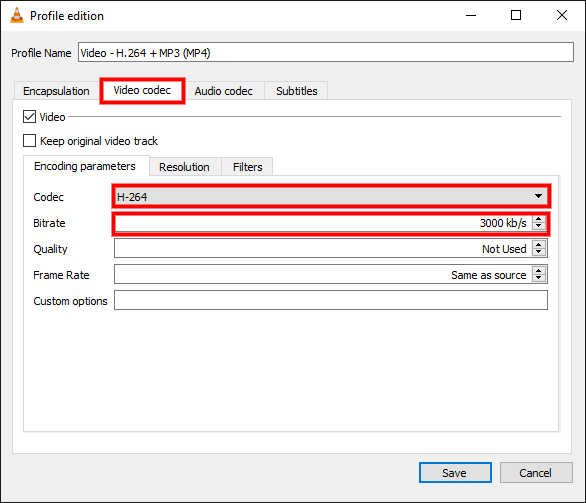
On the “Encapsulation” tab, select “MP4”.
On the “Video Codec” tab, make sure “H-264” is selected. Then select a bitrate for the video stream.
The higher the bitrate, the higher the quality, but setting it too high might be too much data for your network to transfer.
If the stream starts, but it won’t load on the phone, increase the video bitrate to 4000-5000 and start the stream again.
On the “Audio Codec” tab, make sure the codec is set to “MP3”, then select a bitrate and sample rate for the audio stream.
The bitrate should be at least 128, but 192 or 256 will deliver better quality. The sample rate can be either 44100 or 48000, but 44100 should be fine in most cases.
If the audio pitch doesn’t sound right, then try changing it. Now click “Save”.

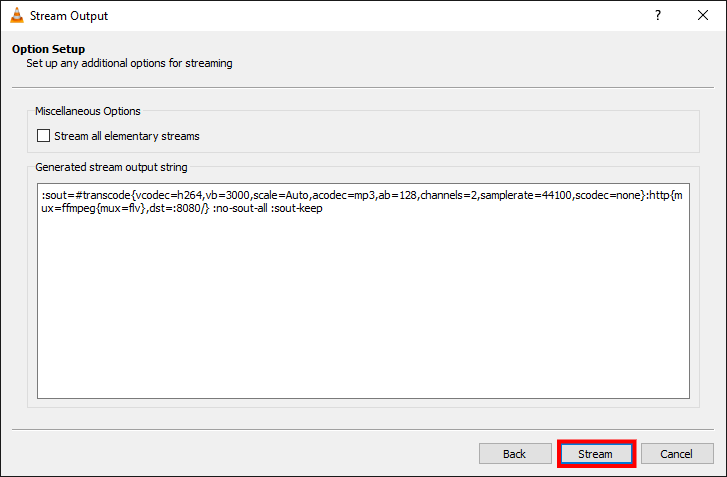
Now click the “Next” button.

Finally, click the “Stream” button.
The video will now start streaming. It will show the name of the current file at the top of the window, and the timer at the bottom left will start counting.
It will also show the total duration of the current file at the bottom right.

You can now open the video as a network stream in Home Theater VR using your local IP address, and the port you selected while setting up the stream. (ex. http://192.168.0.101:8080)
To find your local IP address, open the start menu, type “CMD” and press enter.
Type in “ipconfig” and press enter. Your local IP address will be shown next to the label “IPv4 Address”.
Make sure to allow VLC through your firewall if you get a popup asking for permission.